My FacebookMy DeviantArtMy FlickrMy TwitterMy Formspring »

| me? |


Arthur Chia.


That's it really, that's who I am.

Just a boy, just a boy.

Saturday, March 25, 2006

No tutorial today.

Sorry, no tutorial today. I'm feeling lazy today. Preview of next weeks tutorial - Tech Borders:


Click on it, it's animated

Updated, 8.00pm
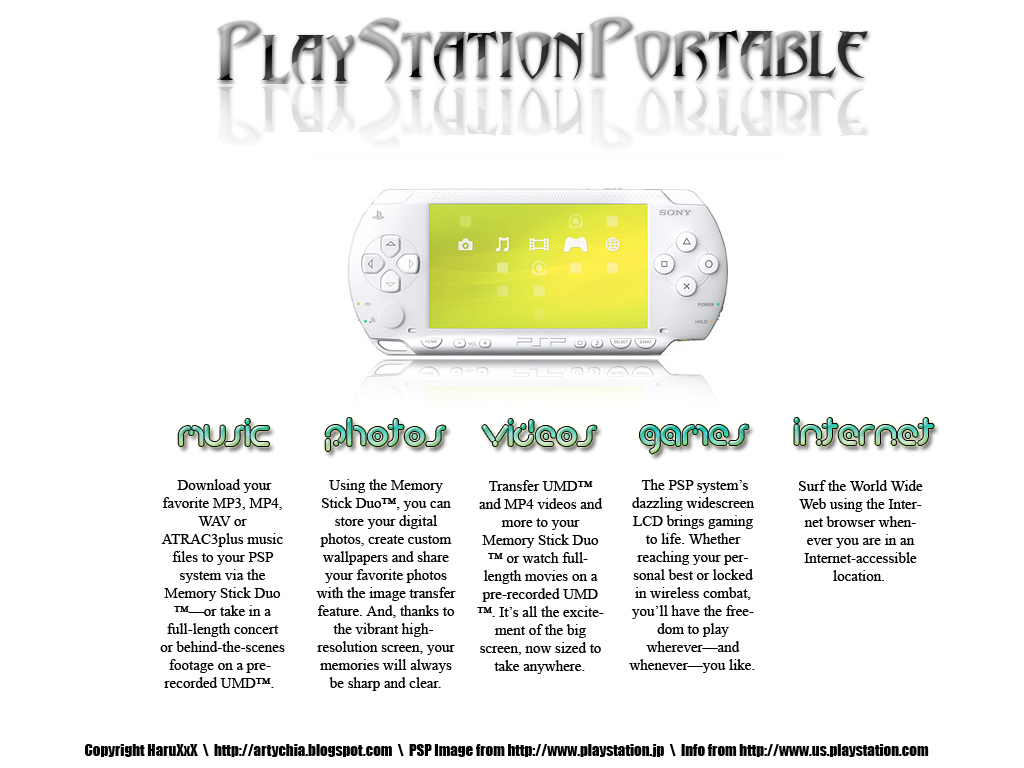
Fell in love with PSP:


Made this for fun, in 5 minutes:

Friday, March 24, 2006

Wesleyan Idol. Attempt 1.

Sorry for the lack of posting and stuff.

Lala.. I was supposed to sing in Wesleyan Idol today, but, there weren't enough time for me to sing. So, mine is postponed to next Monday. I'm very busy these few days, so I can't like blog everyday anymore. Here's something I did for my bro's Prefect thingy:


It doesn't look like fire, does it?

Monday, March 20, 2006

Wee.. Long pants..

There's a reason why I'm wearing long pants. It's cause that lower secondary librarians are required to wear them now because Kenneth, the head librarian suggested it and I killed him for it. :P We were ordered by Mrs Peter( there's no S after R lol) to buy long pants on 10th of March, which was the Friday and wear them on 20th of March till we finish school. It's hot. Very. I kinda hate it though. It's a must change during sports practice we're having these days.

I'm really going low on story supply. :D

I did a really ugly and kinda like too-much-leaves background for myself xD

Sunday, March 19, 2006

I hate projects.

Lalala.. Still half awake xD. Stayed up doing my Sejarah project. Madam Kumari asked us to do 10 pages for Bab 7, I did 13! XD. It's practically nothing to brag about, but I'm just too sleepy to think what to write about. Anyways, something for all:


However, if you wanna add fonts in the middle, drop a comment. The font will be the same like the copyright.

Saturday, March 18, 2006

Tutorial - Borders

Time for my first tutorial :D

My first tutorial - Borders

1) Open up your Adobe Photoshop
2) Open the picture/graphic you wanna have the border
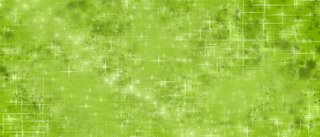

3) Make a new layer (Ctrl+Shift+N / Layer > New > Layer)
4) Click on the Magic Wand on your tools window


5) Make sure you have selected your new layer
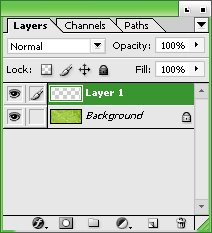

6) Use your Magic Wand and select any area on the new layer
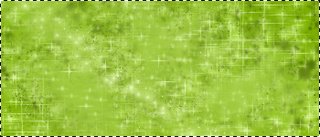

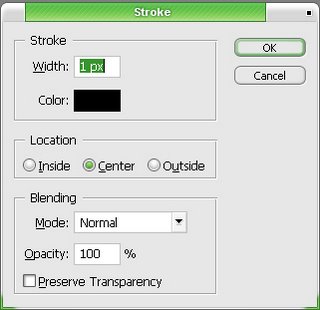
7) Go to Edit > Stroke
8) Choose 1px for the smallest border, however the size is up to you. Colour of your choice. And click okay.

9) Parts 9-11 are totally optional : Deselect (Ctrl+D) and choose Magic Wand the inner part of the border. Edit > Stroke. Choose a different colour and 1px for the border. Repeat 2 times.
10) Deselect (Ctrl+D) and Magic Wand the inner part of the "unbordered" area. Edit > Stroke. Choose the same colour of the first border. Deselect.
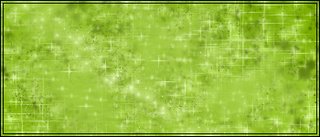
11) Use your Magic Wand and select the middle border. Hit Delete. And there! You have a nice 3px border!

Results:

PSD:
Still uploading. Lol.

That's all. I'm still new in this. Comment and rate my first tutorial.
 
Blog layout and design by ArtyChia :)